|
The jig consists of an upper slide A and a lower slide B.
Before you start to assembly, mark the slide A and slide body C as well as B and D with a soft pen. |
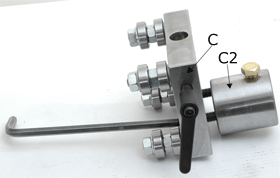
Take out slide body C by winding and mount it together with tool holder C2. Use a 6 mm Allan key and tighten it well.
|
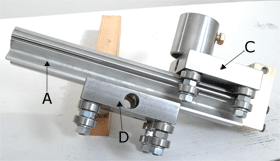
Take out the slide body D by winding and mount it together with slide A. Use a 6 mm Allan key and tighten it well.
|
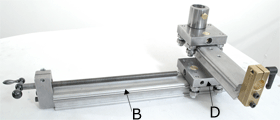
You need a little force to press the slidebody D on to slide B. |
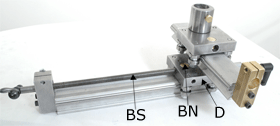
Move slide body D in towards the spindle BS and wind the spindle anti clock vice until it enters the nut BN.
|
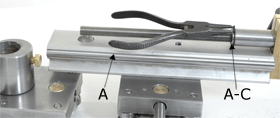
Fit the circlip A-C on to the shaft for quick movement by means of a pair of pliers. If you don’t have that tool you can use 2 wires, fit them in to the holes of the circlip and pull it apart. |
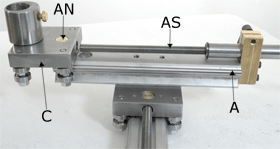
You need a little force to press the slidebody C on to slide A. Move slide body C in to the spindle AS and wind the spindle anti clock vice until it enters the nut AN.
|
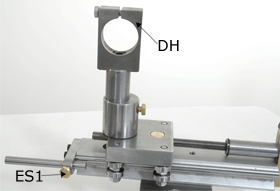
The end stop ES1 you can fit both on the end of slide A or B. |
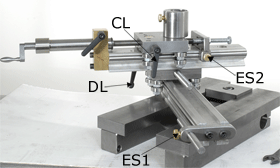 The end stop ES2 you can fit both on slide A or B. |
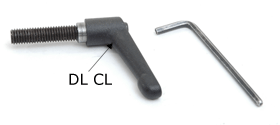
The bracke handles DL and CL can be dismounted for easier assemply by loosing the little screw at the end. |
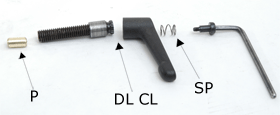
Before mounting the bracke handles DL and CL, you must insert the little pin P. This pin is made of brass and will lock (bracke) the slide A or B against the spindles AS or BS. Note! Don´t loose the little spring SP. |